Home recording has closed the quality gap with commercial studios for almost every instrument except acoustic drums. The tools available to a bedroom producer in 2026 (modern DAWs, affordable interfaces, inexpensive but capable microphones, impressive plugins) would have required a hundred-thousand-dollar studio in 1998. What remains hard is not the gear. What remains hard is the judgment: knowing when a take is good enough, when to stop tracking, when to commit to a mix, when to hire someone else for the parts your own ears can’t handle.
What does a working home studio cost?
Every working home studio producer we know has variations on this list. The specific brands matter less than the category coverage: one good condenser, one good dynamic, real monitoring, and acoustic treatment. Skipping the acoustic treatment is the most common first mistake. A great microphone in an untreated room sounds worse than a $100 microphone in a treated room, every time.
Why is acoustic treatment more important than mic upgrades?
Rooms produce roughly 50% of what you hear on a recording. A typical bedroom has parallel walls, a low ceiling, hard surfaces, and a small volume, all of which create standing waves, early reflections, and a comb-filtered frequency response that your microphone faithfully captures. The fix is simple: absorb the early reflection points (left wall, right wall, ceiling, sometimes rear wall), trap bass frequencies in the corners, and keep your monitors away from the walls.
DIY panels made from wood frames and rockwool or mineral wool insulation cost roughly $40-$60 per panel and work as well as commercial options at a fraction of the price. The time investment is a weekend. Once done, your mixing judgment improves by a noticeable margin, not because the room is now perfect, but because it stops lying to you about the low-mid frequencies.
How many takes should you record per part?
Most home recordings suffer from overcorrection at the tracking stage. Performers do eight takes trying to get one perfect, then comp across all eight to assemble the “best” version. The result is often less good than the third take, because the energy and coherence that made the first few takes compelling is gone by take eight. Experienced home producers cap tracking at three to five takes per part, pick the best whole take, and fix small mistakes with punches rather than full retakes.
Commit to mic placement. Moving the microphone an inch changes the sound more than any plugin you’ll reach for later. Spend time at the start of a session getting the placement right, then track confidently. The temptation to track with low commitment (“we’ll fix it in the mix”) produces sessions that are impossible to mix because the source material is mediocre.
How do you record vocals at home?
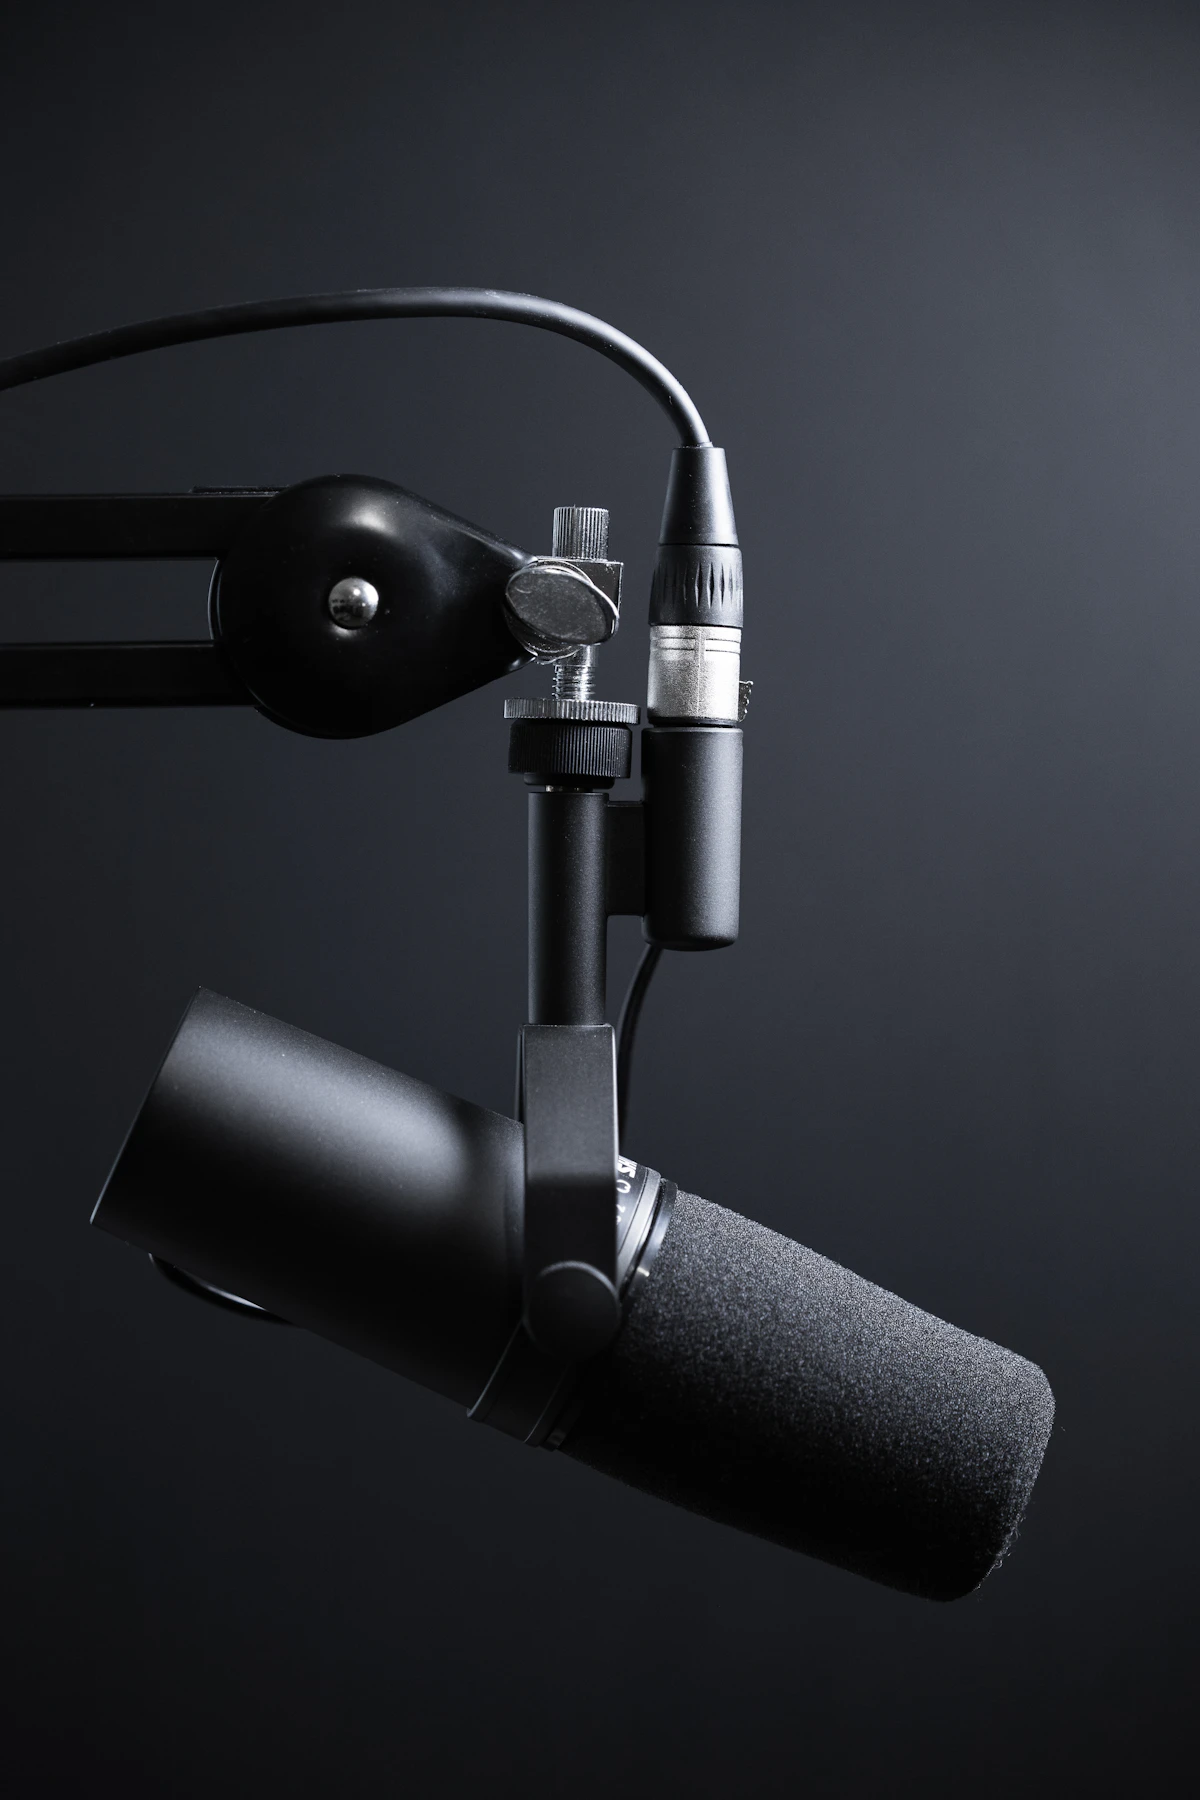
Vocals are the one instrument where home studios consistently match commercial ones. Requirements: a quiet room (HVAC off, neighbors addressed), a large-diaphragm condenser or an SM7B, a pop filter 4-6 inches off the capsule, and the vocalist 6-10 inches off the pop filter. Record at a healthy level that peaks around -12 dBFS; don’t compress or EQ on the way in unless you know exactly what you’re committing to.
Comp carefully. Modern vocal comping involves recording three to five full takes, then assembling the best phrases from each into a composite. The work is tedious (expect 2-4 hours of comp time per lead vocal track), but it’s the single biggest difference between amateur and professional vocal recordings. Tuning (Melodyne or auto-tune) follows comping, used conservatively. Retouch obvious pitch problems; leave emotion intact.
How long does it take to mix a home recording?
Mixing a track from rough stems to release-ready typically takes 8-20 hours per song for a reasonably experienced mixer, and 40-80 hours for a beginner mixing seriously for the first time. The variation isn’t about the difficulty of the song; it’s about how many times the mixer second-guesses decisions. Confidence comes from reference tracks, A/B comparison to commercial mixes in the same genre, and deliberately stepping away for 24 hours between sessions so you re-hear the mix fresh.
The common pattern for a working home producer: rough mix in the first pass to establish rough balance (1-2 hours), detailed pass on dynamics and EQ (3-5 hours), automation and balance refinement (2-4 hours), referencing and revisions (2-4 hours), then a final day to listen on multiple systems (car, earbuds, phone) and adjust. If the song is consistently sounding good on cheap speakers and great on good ones, you’re done.
When should you hire a professional engineer?
Drums remain the biggest argument for professional studios. A well-treated home room can’t replicate the acoustic response of a proper drum tracking room; drums recorded at home almost always sound like home drums, even with great mics and players. Budget a drum tracking day at a commercial studio ($500-$1,500 depending on location) and mix the results into an otherwise home-recorded album.
Mixing and mastering are the other two decisions. Indie mixers work at $250-$800 per song; mastering engineers at $50-$150 per song for digital-only releases, more for vinyl. The test: if your home mixes are landing in your target emotional range but sound 10% rougher than reference tracks, mix them yourself and master professionally. If they’re landing 30% off, hire a mixer. Honest assessment matters more than budget optimization here.
Related reading
For how to monetize a well-recorded catalog, see Film & TV Scoring. For the songwriting side that precedes recording, see Songwriting. For touring infrastructure that uses your recorded material, see Touring. A specific dispatch on vocal tracking workflow is in DIY vocal recording. Additional background on home recording is available via Wikipedia.