Vocal recording at home has closed the quality gap with professional studios more fully than any other recording application. A well-set-up home vocal session produces releasable tracks indistinguishable from commercial studio vocals to anyone but a pro mixer listening specifically for recording artifacts. What separates home vocal sessions that work from ones that don’t is not mic choice or preamp upgrade — it’s the small collection of habits and decisions that turn an SM7B in a bedroom into a serious working vocal booth.
The minimum serious setup
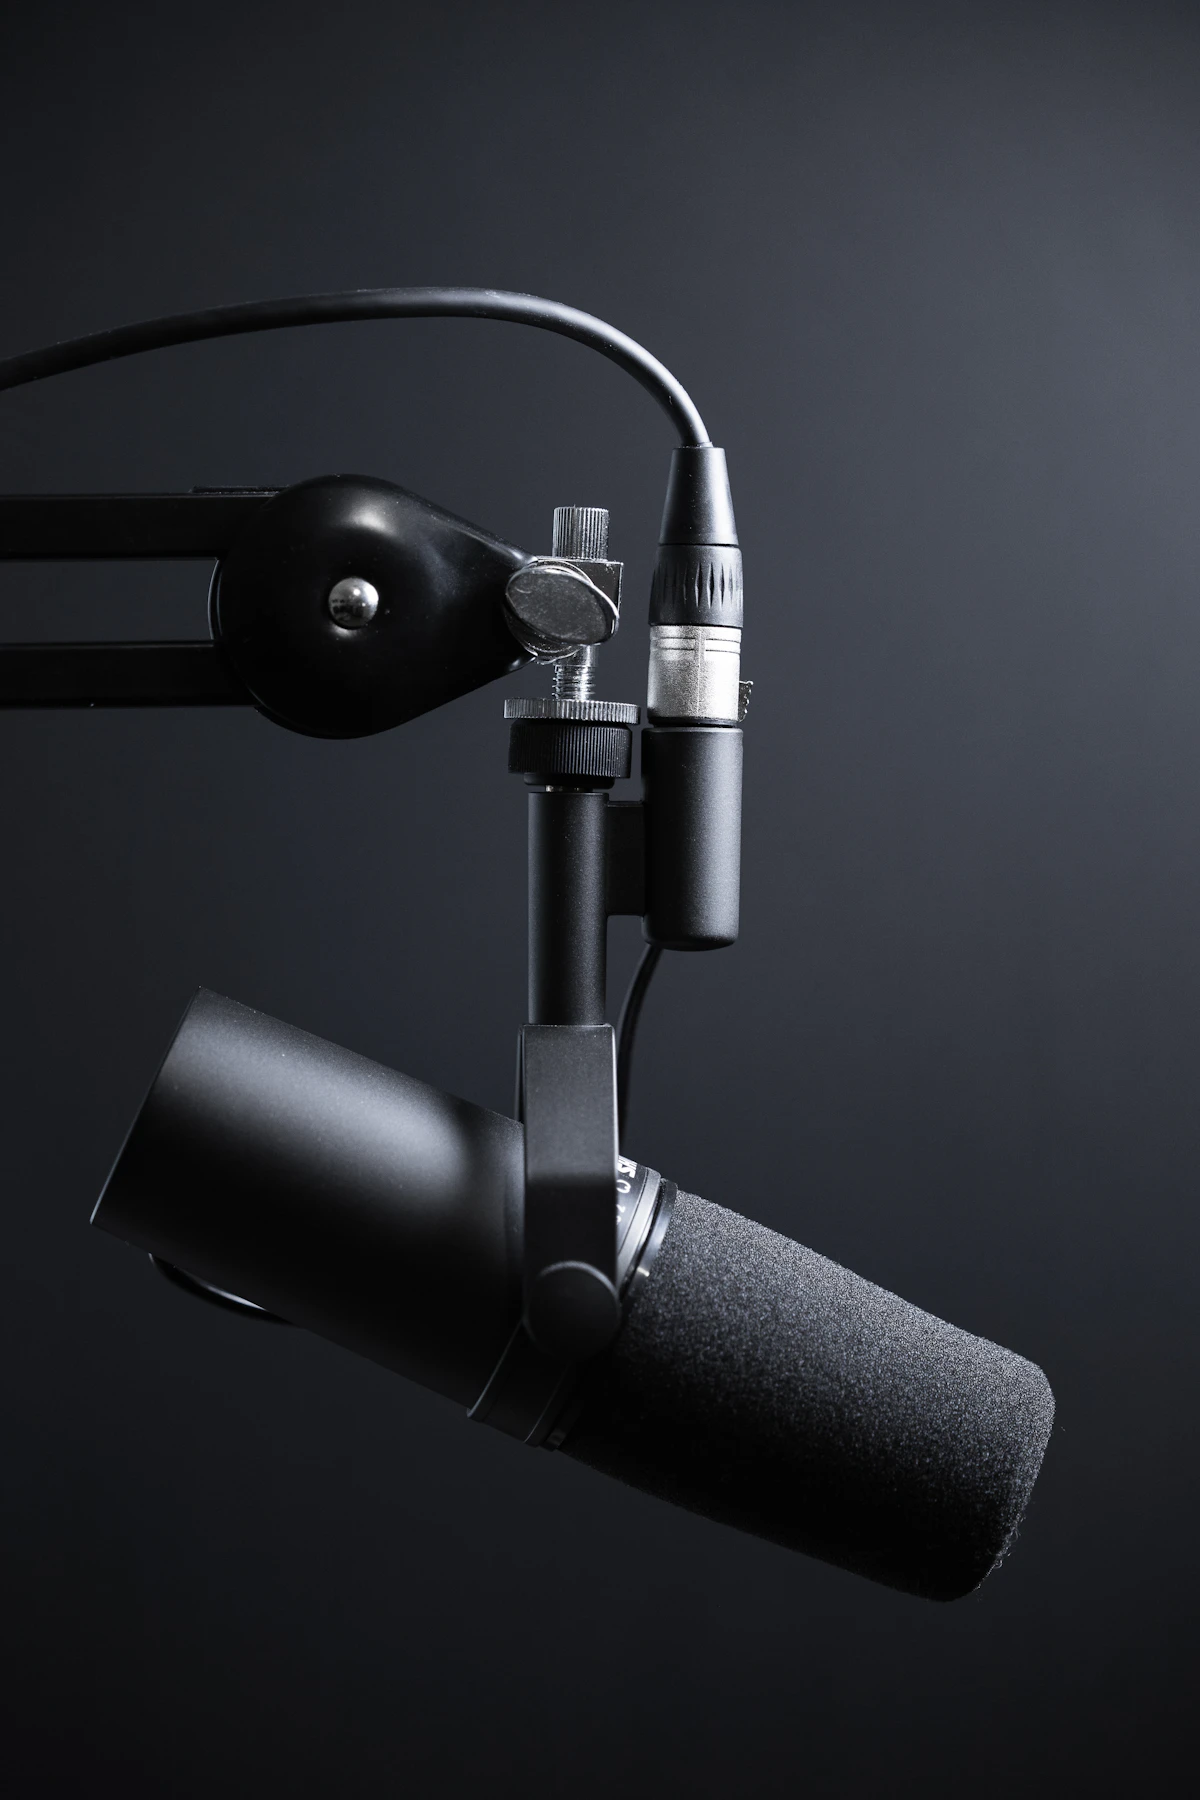
A working home vocal chain consists of four pieces: a dynamic or large-diaphragm condenser microphone (SM7B is the workhorse; AT4040, AKG C214, or Rode NT2 for condensers), a Cloudlifter or FetHead inline preamp if using the SM7B (to add 20 dB of clean gain), an audio interface with a decent preamp (Focusrite Scarlett 2i2, Audient iD4, Universal Audio Volt), and a properly treated space to sing in. Total investment: $600-$1,200 depending on choices.
The SM7B (retail $400) deserves its reputation for home vocal work because it rejects room sound better than most condensers. In an untreated or semi-treated bedroom, an SM7B captures the voice clearly while a condenser captures everything around the voice — the HVAC, the footsteps of the neighbor upstairs, the hum of the fridge. For home conditions, the rejection matters more than the frequency response differences that distinguish mic tiers.
The closet approach to acoustic treatment
Almost every home vocal session produced in the last fifteen years used a closet as the tracking space. The clothes in a clothes closet act as broadband absorption across most of the critical vocal frequency range; adding two or three proper acoustic panels addresses the gaps. Total cost for closet treatment: $150-$300 DIY, $300-$600 for commercial panels.
A closet is not a professional vocal booth — the low-frequency response is compromised by the small volume, and very high levels can produce audible “boxy” resonance — but for most rock, folk, indie, and pop vocal recording, it produces workable tracks. The remaining issues (slight boxiness, minor reflections) get addressed in post through gentle EQ and careful reverb choices.
Tracking technique
Mic placement: SM7B at mouth height, 4-6 inches off the pop filter, with the pop filter 2-3 inches off the mic capsule. The singer sits or stands with chest plate parallel to the mic (not at an angle). Back off 1-2 inches for louder passages, closer for quiet intimate moments. Tracking level should peak around -12 dBFS — hot enough to use the converter’s full resolution, quiet enough to have headroom for peaks.
Recording at the right level matters more than most home producers realize. Tracks recorded at -24 dBFS (typical of overly cautious beginners) have 12 dB less resolution than tracks recorded at -12 dBFS, which shows up in post as more noise and less flexibility in processing. Tracks recorded too hot (peaks at -3 dBFS or clipping) lose the sheen that quiet tracking preserves. -12 dBFS peak is the target.
The three-take comp workflow
Professional vocal recording almost never uses a single take as the final. Standard practice is to record three to five complete passes of the vocal, then comp (composite) the best phrases from each take into a final track. This is the technique that separates amateur recordings from professional ones — not gear, not space, but patience in the edit.
Comp workflow: track pass 1 for general feel, pass 2 to improve phrasing or rhythm, pass 3 focusing on any weak spots from the first two. If the song has challenging passages, record those phrases separately at higher concentration. In the DAW, align all takes on a comp track, audition each take for each line, and select the best phrasing. Cross-fade between takes at natural breath points so the edits are inaudible. Expect 2-4 hours of comp time per final lead vocal.
Where home vocals fall short
Home vocal recording still has specific limitations. Very loud dynamic vocals (full-volume rock belts, operatic soprano) reveal the low-frequency compromises of small tracking rooms. Extremely airy, breathy vocals that depend on a large condenser’s sensitivity often suffer from room noise in untreated spaces. Vocal types that rely on long-hall reverb for their commercial sound (classic country crooning, some ballad styles) benefit from the acoustic characteristics of purpose-built vocal rooms.
Honest assessment: if your vocal style depends on one of these — or if the final mix suffers despite careful tracking — budget a professional vocal session at $250-$600 for a single day. For the rest, home recording produces material indistinguishable from studio recordings once the mixing is done well.
Related reading
For the broader home studio setup, see DIY Recording. For how well-recorded vocals translate to sync licensing opportunities, see Film & TV Scoring. For the songwriting side of what gets recorded, see Songwriting. For a broader context on home recording as an industry shift, read What separates bedroom records from studio records. For mic background, the Wikipedia entry on the Shure SM7B documents its development.